


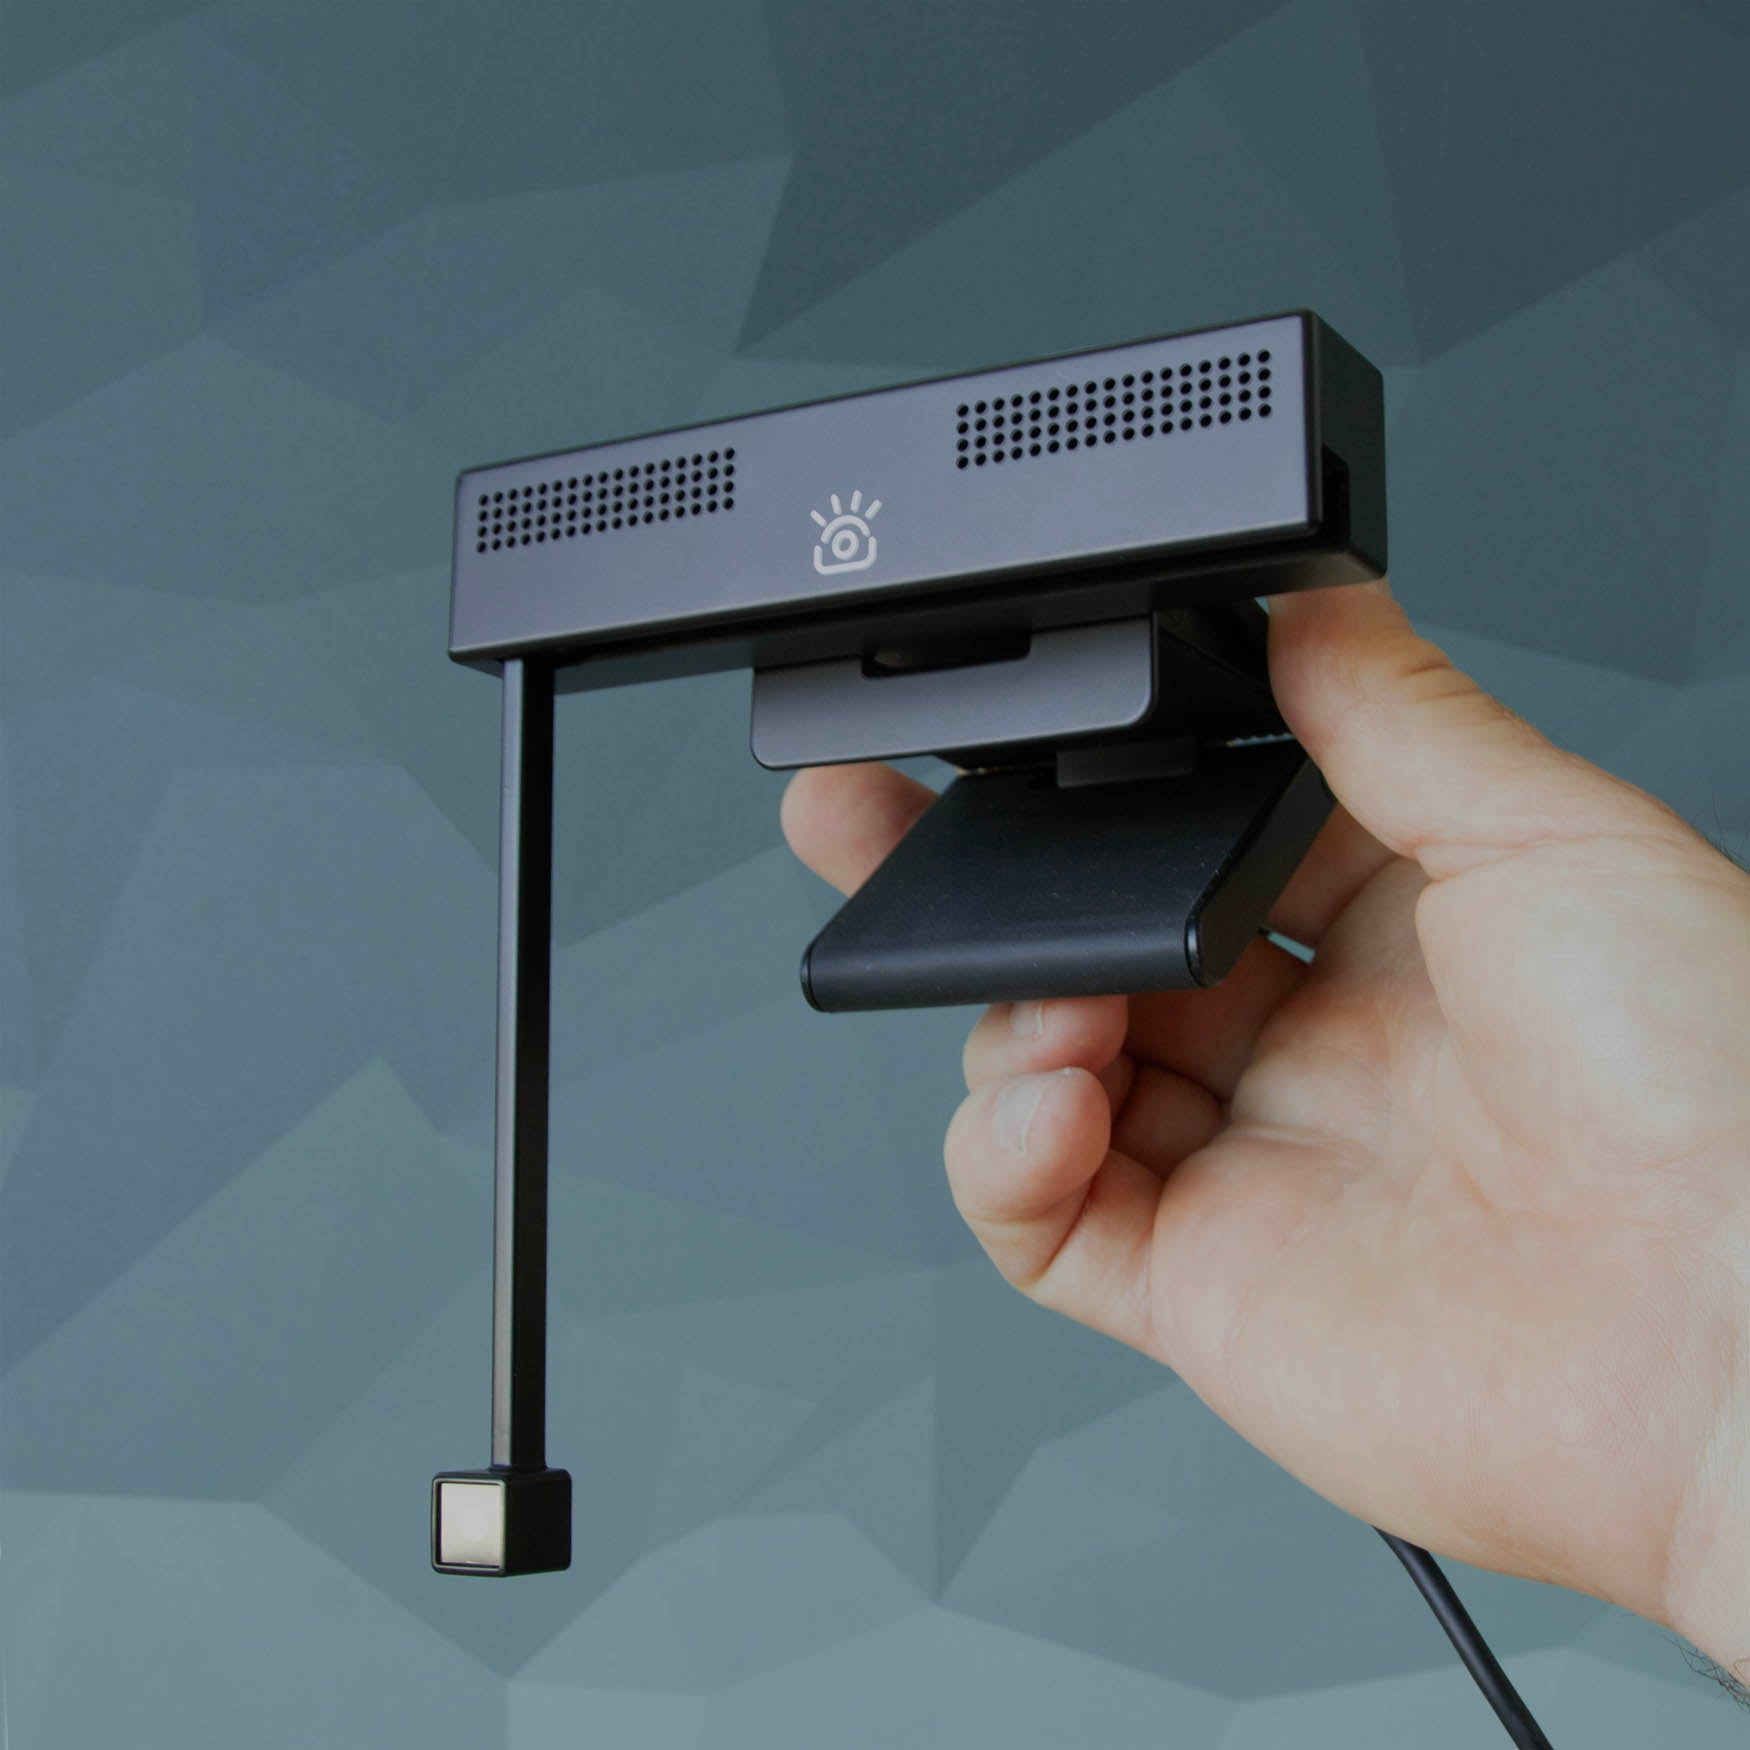
The iContact Control App gives you manual control over your camera — exposure, white balance, focus, zoom, and microphone levels. It is free, and it works with every iContact camera whether you bought from us, Amazon, or a retailer.
1. Download it
These links always point at the current release, so you can bookmark them.
2. Install it
On a Mac. Open the downloaded file and drag iContact Control into your Applications folder. The first time you open it, macOS may say the app “cannot be opened because it is from an unidentified developer”. This is expected:
- Right-click (or Control-click) the app in Applications and choose Open.
- Choose Open again in the dialog.
If you do not see that option, go to System Settings > Privacy & Security, scroll to the Security section, and click Open Anyway.
On Windows. Run the downloaded installer. If Windows shows a blue “Windows protected your PC” screen, click More info, then Run anyway.
3. Approve the virtual camera
iContact Control installs a virtual camera — that is what lets your adjusted image appear as a selectable camera inside Zoom and Teams. It needs a separate approval from the one above, and skipping it is the most common reason people think the install failed.
On a Mac, macOS blocks system extensions until you approve them. Open System Settings > Privacy & Security, scroll to the security section near the bottom, and select Allow next to the blocked iContact software. You may need to restart afterwards.
Without this, the app installs and runs, but iContact Control never appears as a camera option in your meeting app.
On Windows, approve the installer prompt if Windows asks for permission.
4. Allow camera and microphone access
Mac: System Settings > Privacy & Security > Camera, then again under Microphone.
Windows: Settings > Privacy & security > Camera, then again under Microphone — and make sure access is on for desktop apps.
Allow both. The app cannot show you a preview or adjust your image without them.
5. Connect your camera
Plug the camera directly into a USB port on your computer, not into a hub, dock, monitor, or adapter, and swivel the arm fully down into its operating position. Then open iContact Control. Your camera should appear within a few seconds.
6. Restart your meeting app
Zoom, Teams and Google Meet scan for cameras when they launch. If one was already open while you were installing, quit it completely — from the system tray or menu bar, not just the window — then reopen it and choose your camera.
If something did not work
- The install failed, or iContact Control never appears as a camera
- The app opens but cannot find your camera
- iContact Control is missing from Zoom or Teams
Need your camera right now?
Select iContact Camera in your meeting app. The camera works fully without Control.