

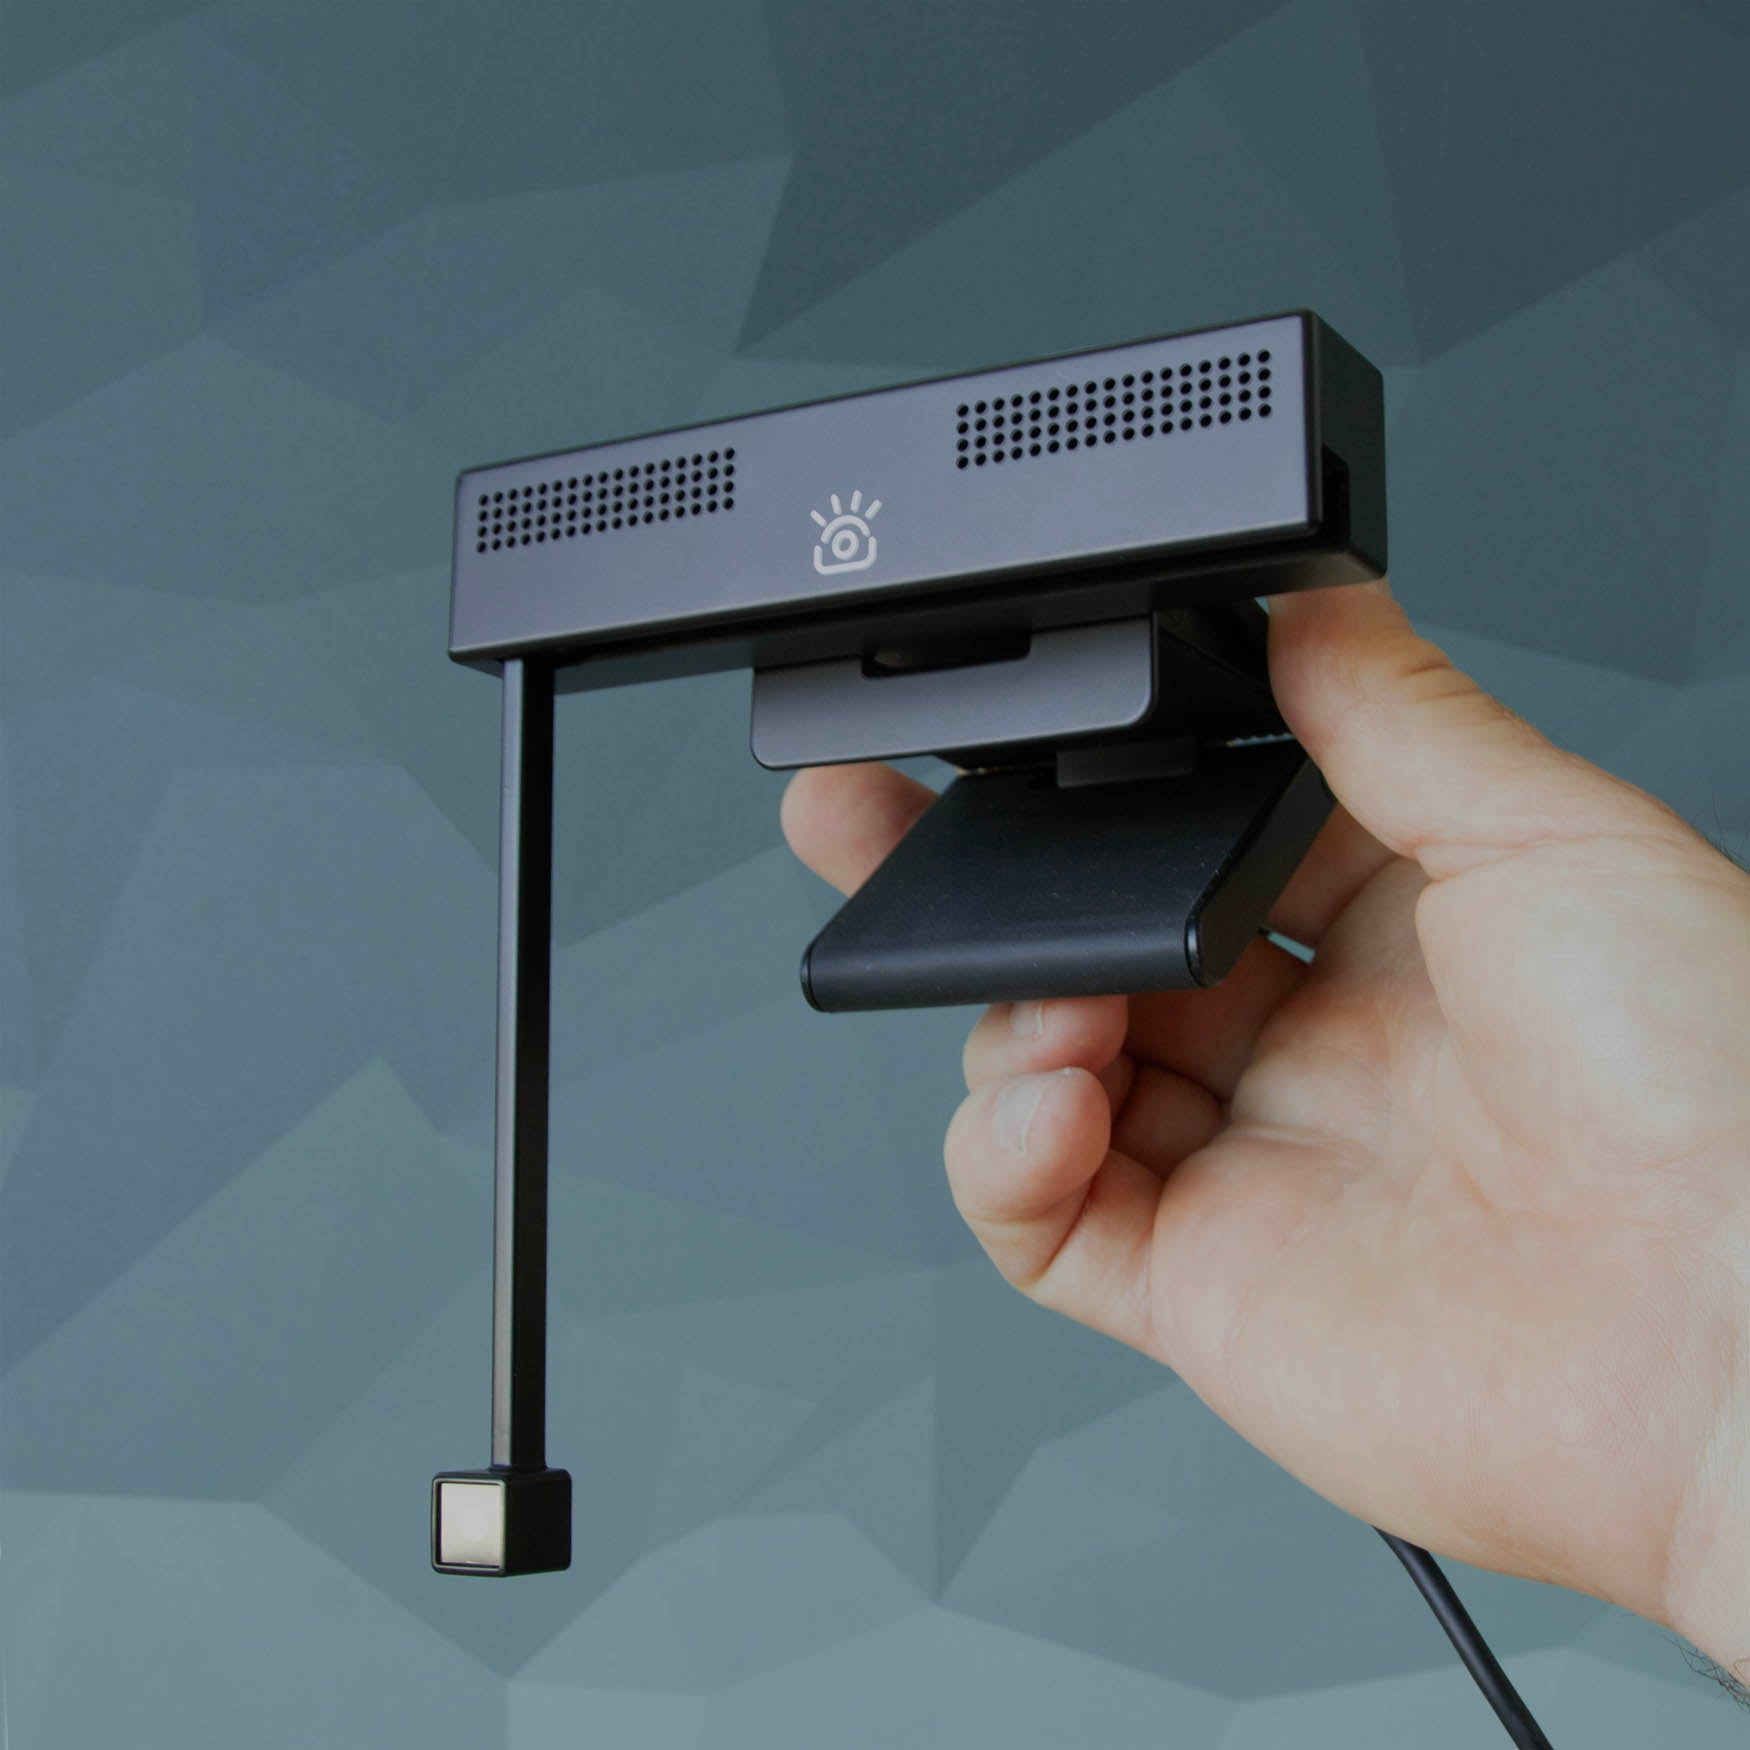
Take full control of your video appearance with the iContact Control App, available for both Mac and Windows. It lets you fine-tune your camera settings to look your best in every call.

Please note that our iContact Control App is currently in beta version.
1. Download the app
Go to the download page and choose the Mac or Windows version. The app is free for iContact Camera owners — you will be asked to sign in or create a free account first.

2. Install the app
Open the downloaded file and follow the installation prompts.
- Complete each step of the installer.
- Allow any permissions the installer requests.
Step-by-step instructions: Install on Mac or Install on Windows.
3. Enable camera permission
After installation:
- Open Settings.
- Go to Privacy & Security → Camera.
- Make sure iContact Control is turned On.
4. Open iContact Control
Once installed, open the iContact Control app.
- Windows: Look for the iContact Control icon in the system tray (next to the date and time on the taskbar). If you don't see it, click the ^ icon to show hidden icons.
- macOS: Look for the iContact Control icon in the menu bar at the top-right corner of your screen, near the clock.
5. Select iContact Control in your meeting app
Open Zoom, Microsoft Teams, Google Meet, or your preferred video app.
In the camera settings, select iContact Control as your camera.
Important: Always choose iContact Control (not iContact Camera) as your video source.
That's it! As long as the iContact Control app is running, your camera will be ready to use in future meetings.
Need help using the app? Reach out to our team at support@icontactcamera.com.