

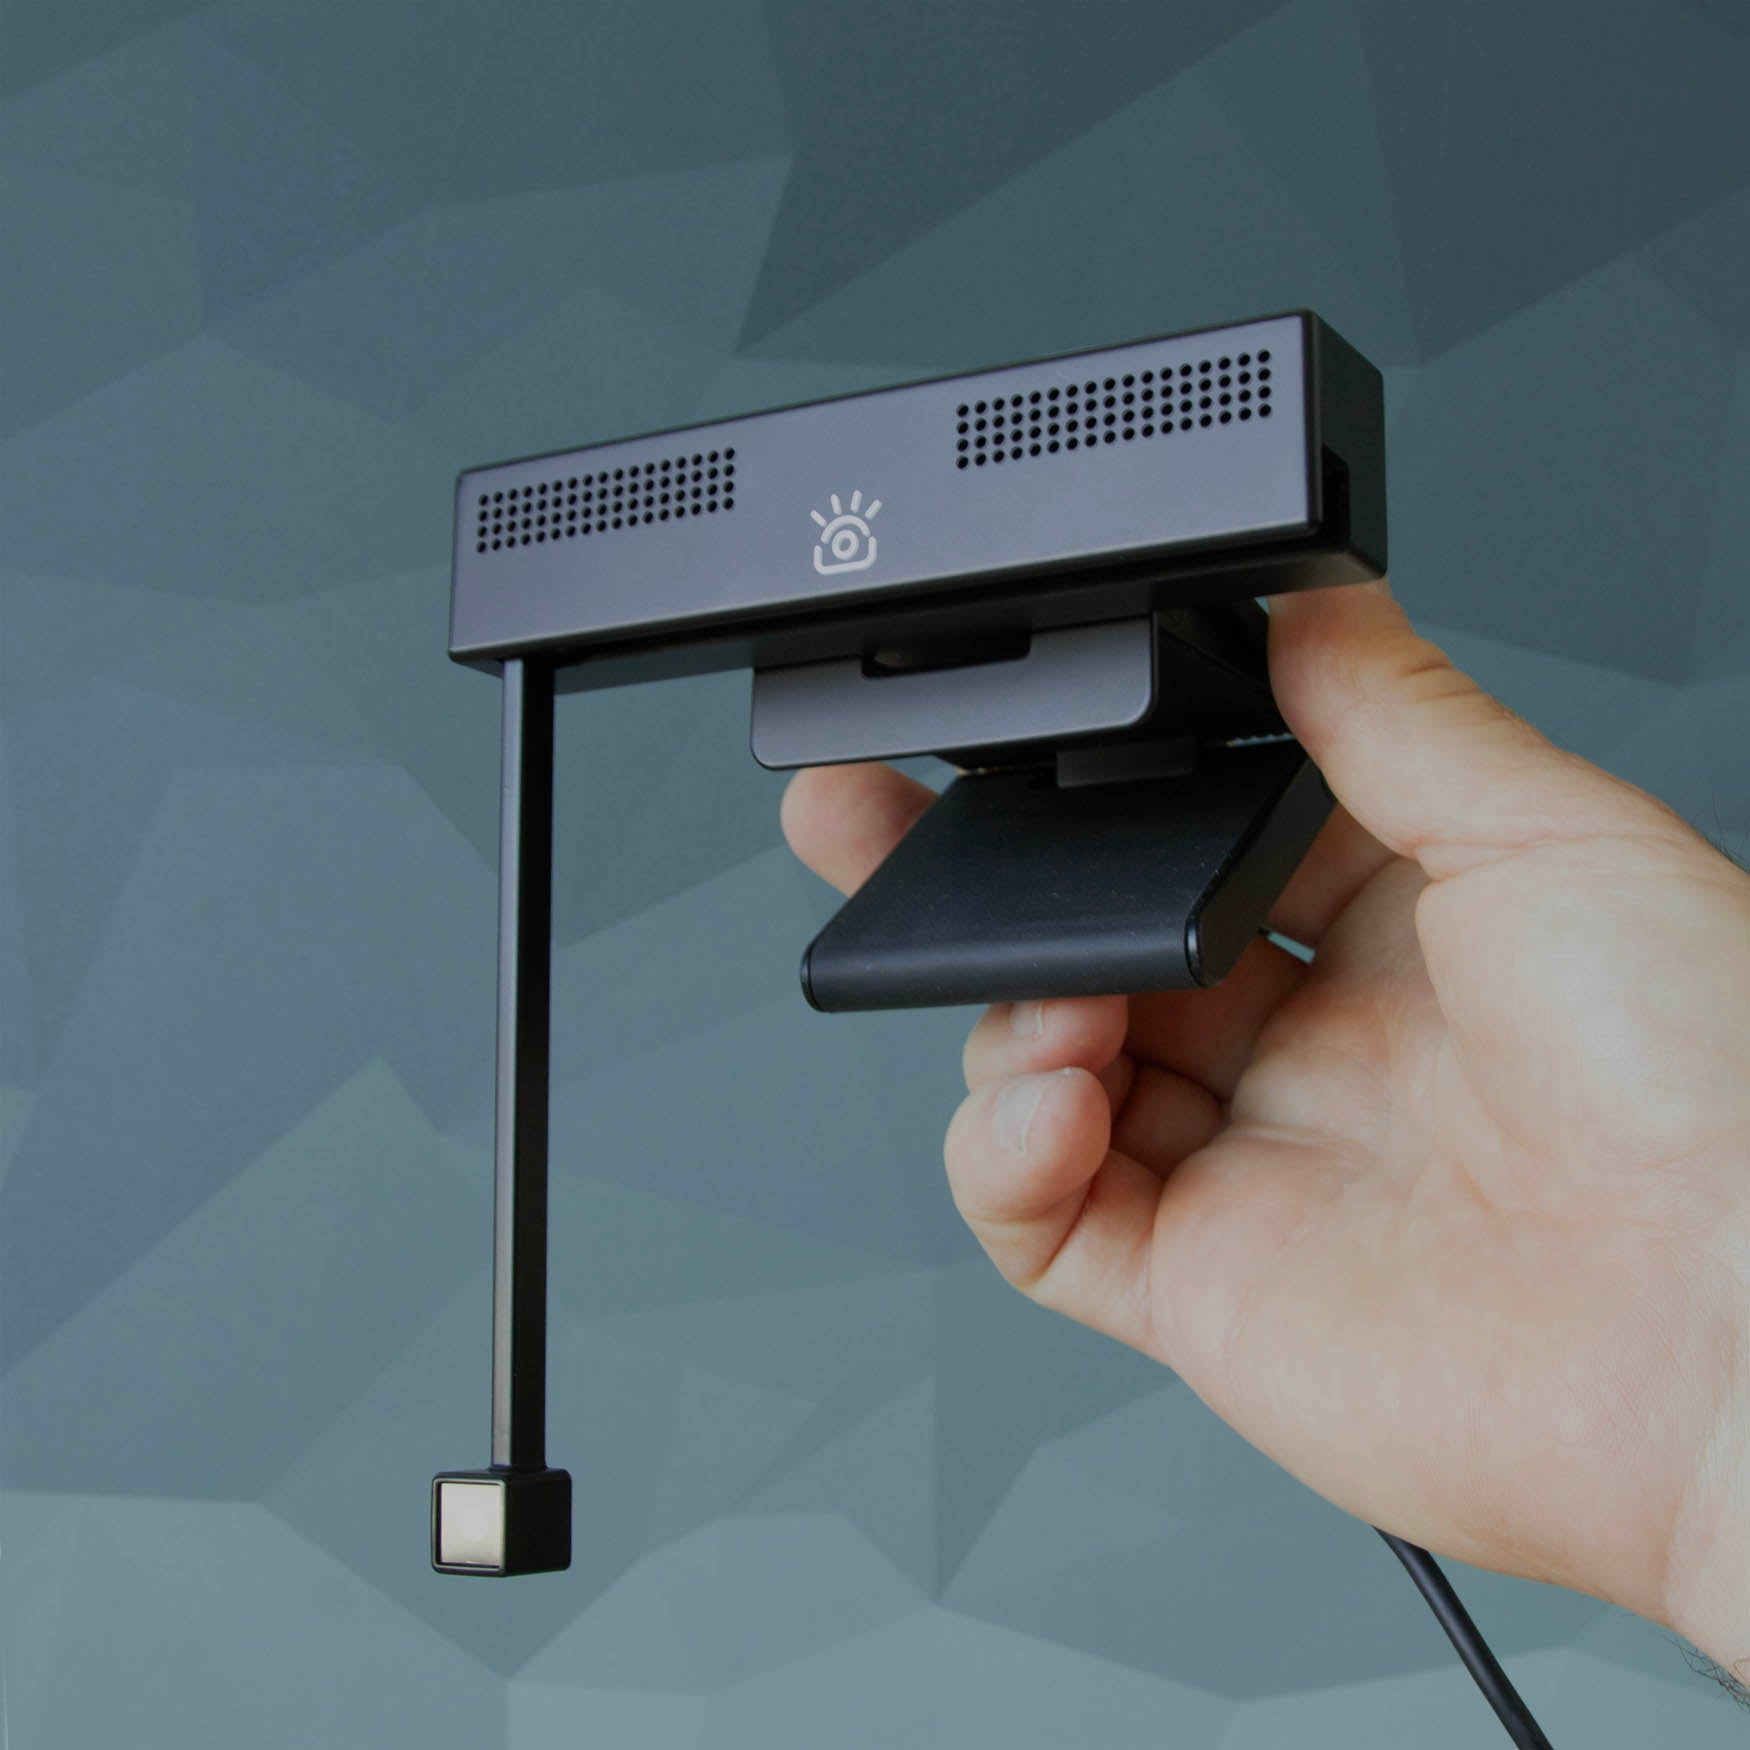
iContact Camera is plug-and-play. No software is needed for basic use.
1. Unbox and open the hinge
Rotate the camera body forward and open the adjustable hinge.

2. Mount it
Open the mount wide, place it flat against the top of your monitor, and push the lower section up until it grips firmly. Need help mounting your camera securely? Learn how to mount your iContact Camera.
3. Adjust the hinge and lower the arm
Set the hinge to fit your screen depth, then swing the camera arm fully downward.

The arm position is also one of the most common reasons a camera does not appear in Zoom, Microsoft Teams, Google Meet, or another video calling app.
If your camera is missing or you don't see any video, check the arm first. Make sure it is fully lowered.
4. Connect it directly to your computer
Plug the camera into a USB port on the computer itself, using the cable supplied — not a hub, dock, monitor USB port or extension cable. A 4K camera needs more power and bandwidth than those can reliably supply. Set it up directly first; you can try your dock afterwards, once you know the camera works.
5. Select it in your video app
Open Zoom, Microsoft Teams or your preferred app and select iContact Camera. If the app was already open while you were plugging in, quit it completely and reopen it — meeting apps only scan for cameras when they launch.
Which camera should I select?
-
iContact Camera — For normal plug-and-play use.
-
iContact Control — To apply the settings configured in the iContact Control app to your video. Open iContact Control first, adjust your settings, then select it as your camera source in your meeting app.
Want a sharper, crisper video?
For the best video quality, make sure your iContact Camera is selected correctly in your video calling app. You can also enable HD video in Zoom, where available, and adjust your camera settings in Microsoft Teams.
Zoom
-
Open Zoom Workplace.
-
Go to Settings → Video & Effects → Camera.
-
Enable HD video if the option is available.
-
Under Camera, select iContact Camera for normal plug-and-play use, or iContact Control to apply your Control app settings.
Note: HD video availability and resolution depend on your Zoom account, meeting settings, and system requirements. Enabling HD does not guarantee a specific resolution in every call.
Microsoft Teams
-
Open Microsoft Teams.
-
Go to Settings → Devices.
-
Under Camera, select iContact Camera for normal plug-and-play use, or iContact Control to apply your Control app settings.
-
Review the available camera settings. You can turn off Automatically adjust camera controls if you want to manually adjust the available controls.
Note: Teams automatically manages video quality based on factors such as network conditions and device capabilities. Standard video-call settings do not offer a general HD resolution selector.
Tip: If you're using iContact Control, open the app first and adjust your camera settings before opening your video calling app. Then select iContact Control as your camera source.
6. Position it for eye contact
Place the lens near the forehead of the person you are speaking with. See positioning your camera for natural eye contact.
Not working? Start here
- The camera does not appear at all
- The camera does not work in your video call app
- The picture flickers, freezes or lags
- The picture is not as sharp as expected
- Downloading and installing iContact Control
Want more control?
The free iContact Control app adds image and audio adjustments — exposure, white balance, focus, zoom and microphone levels. The camera works fully without it.