

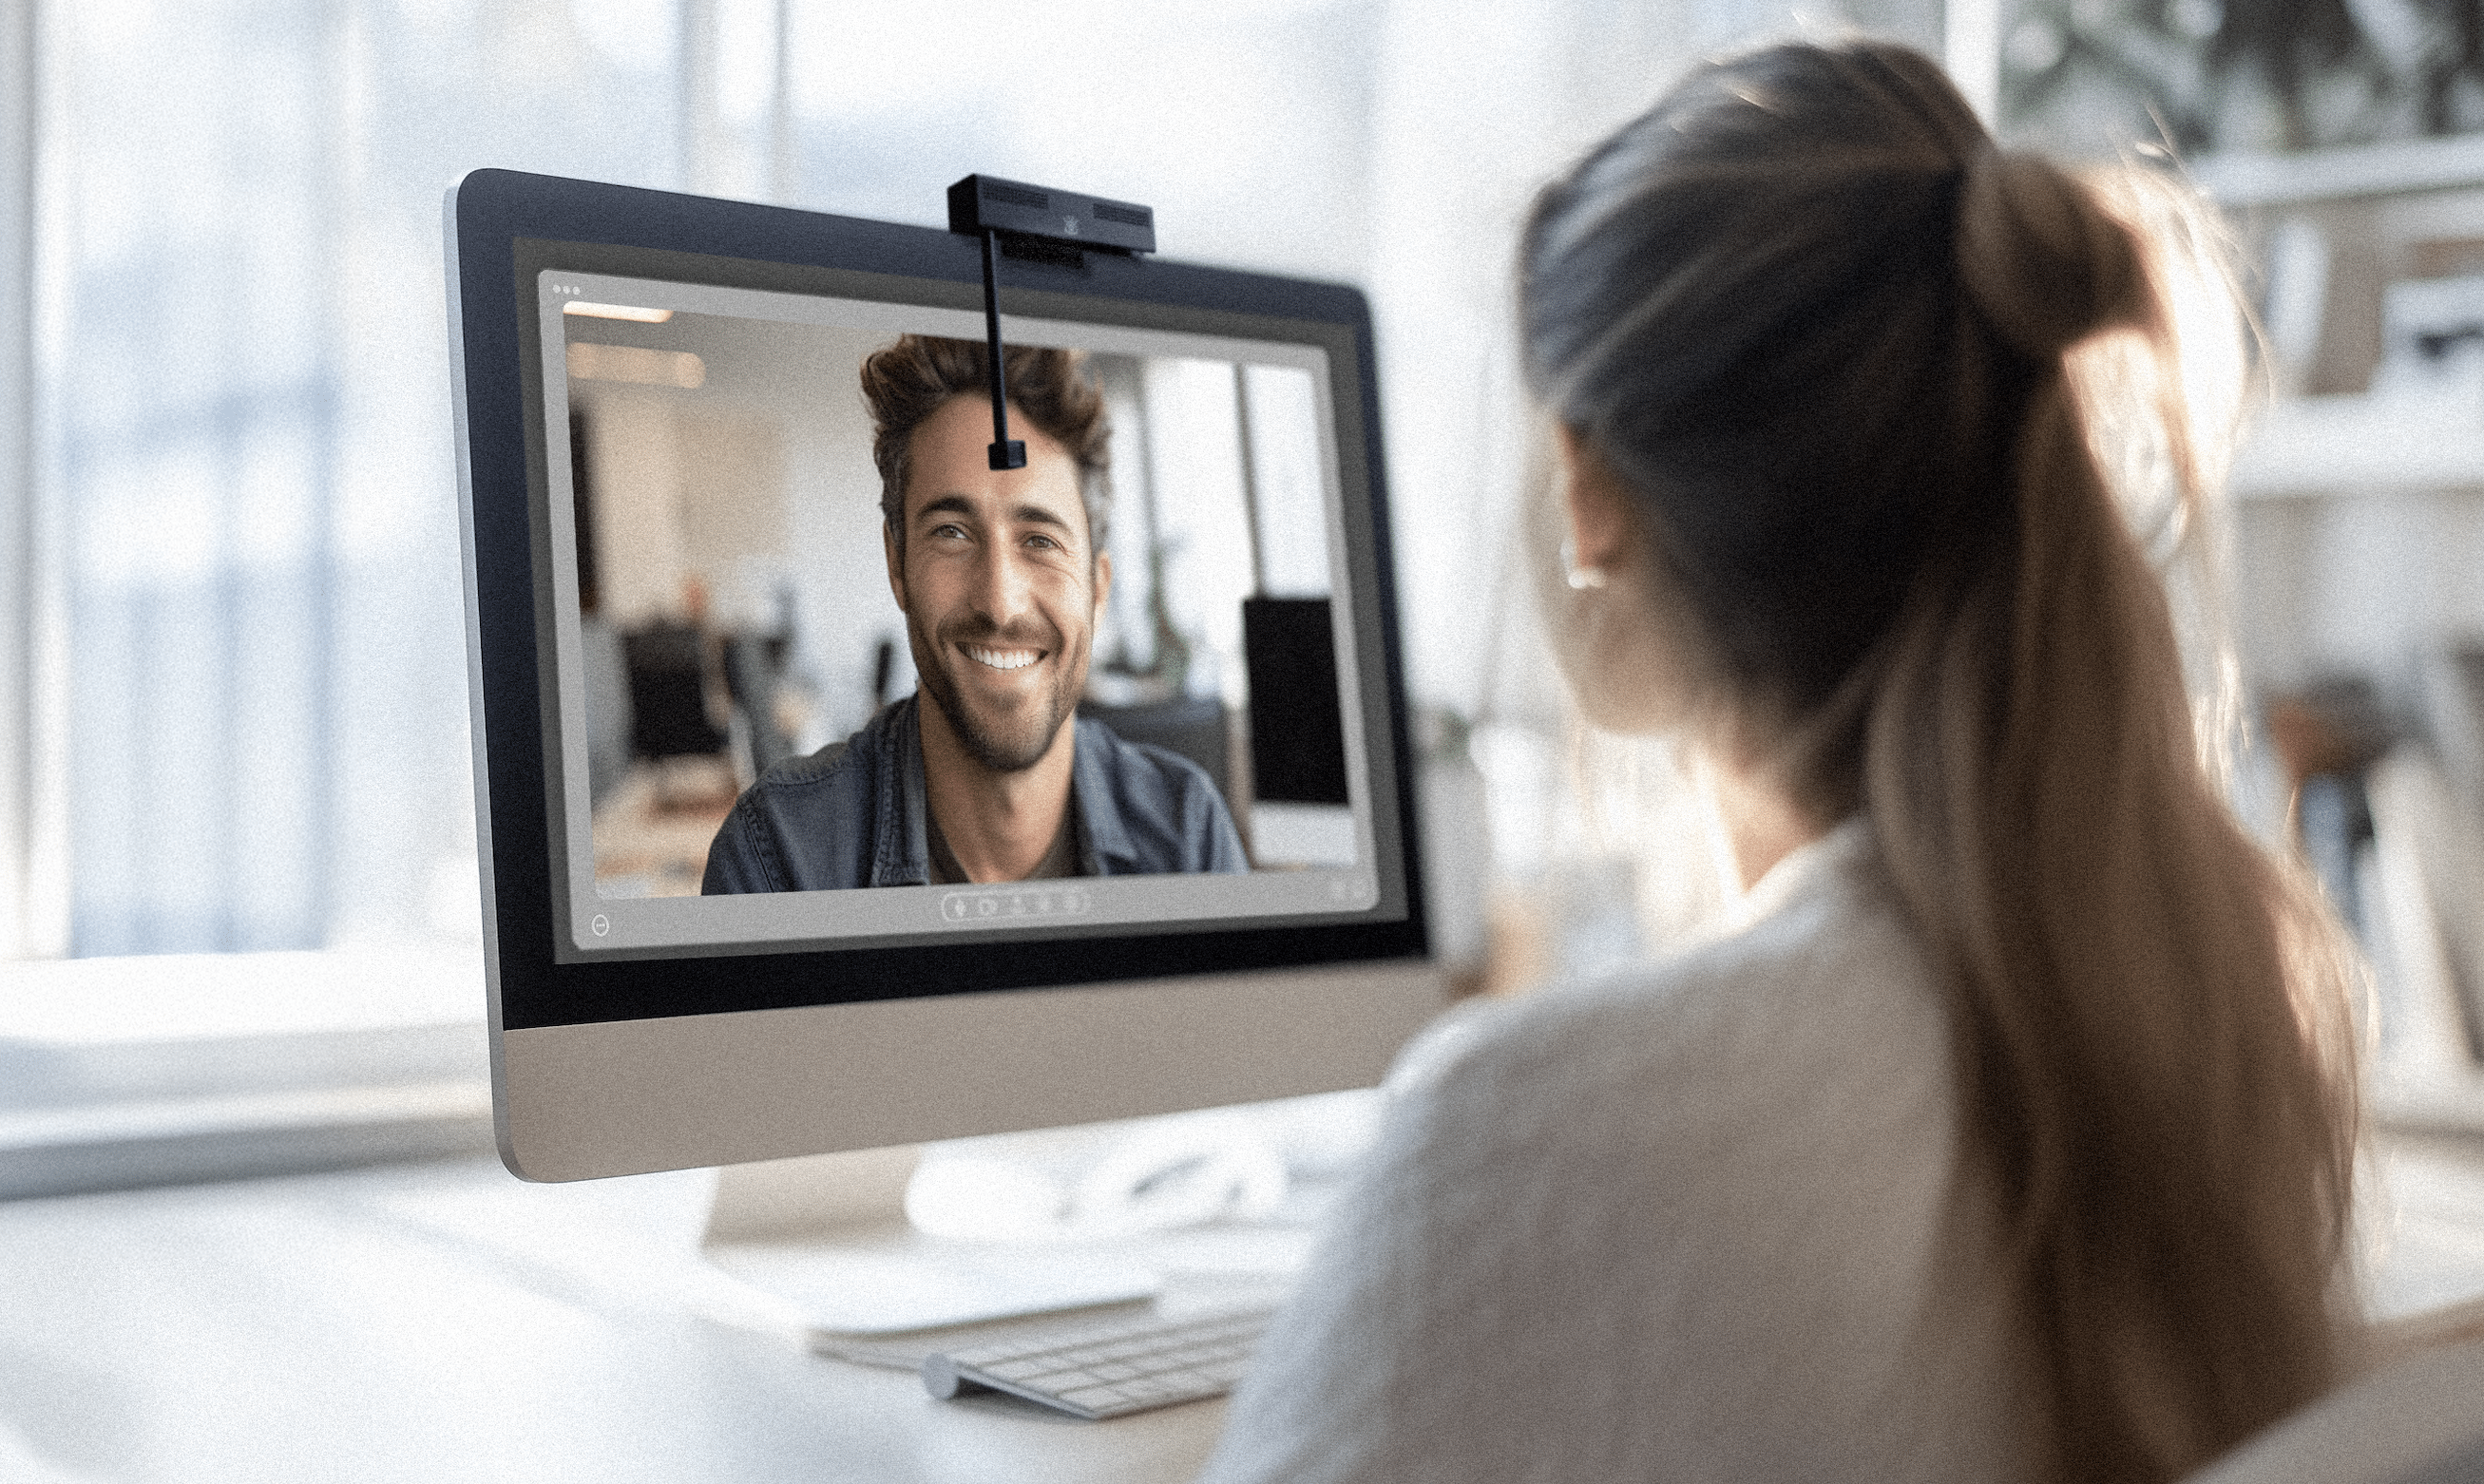
En un mundo remoto, estás constantemente presentando, ya sea a un cliente, a un colega o a una audiencia de cientos de personas. Y aunque muchos se centran en sus diapositivas o en la calidad de la cámara, a menudo pierden una oportunidad clave para aumentar la participación: alinear el contenido, la cámara y la vista del público. Cuando estos elementos están estratégicamente ubicados en la pantalla, puedes mantener un contacto visual natural, reducir las distracciones y transmitir tu mensaje con claridad y conexión.
Esta guía le ayudará a crear la alineación más natural y efectiva para presentaciones de video, ya sea que esté compartiendo una pantalla, mirando la presentación de otra persona o hablando directamente con su audiencia.
1. Por qué es importante la alineación en las videollamadas
En las presentaciones físicas, la mirada, el lenguaje corporal y los materiales se encuentran en el mismo espacio. Pero las reuniones virtuales fragmentan ese espacio: la cámara puede estar lejos de las diapositivas, la audiencia puede desaparecer al compartir la pantalla y la mirada parece moverse rápidamente por la pantalla mientras hablas.
Cuando tus ojos están claramente alineados con la cámara y el contenido, tu audiencia se siente más conectada. Y al minimizar la distancia visual entre tu rostro y el material, reduces la percepción de distracción o desconexión.
2. Optimización del modo de presentación en Zoom y otras plataformas
Si usas Zoom , esta es una de las mejores formas de mantenerte conectado mientras compartes pantalla:
-
Después de comenzar a compartir la pantalla , toque el botón “Más” en la barra de herramientas y elija “Mostrar panel de video” o “Vista de miniatura flotante”.
-
Esto crea una ventana de video de audiencia móvil , que puedes arrastrar cerca de tu cámara , para poder mantener el contacto visual y al mismo tiempo hacer referencia a tu audiencia.
-
Coloca la ventana de presentación justo al lado o debajo de la cámara, y la ventana flotante de audiencia justo encima o al lado. Esto crea un triángulo visual entre la audiencia, el contenido y el objetivo, todo dentro de un campo de visión estrecho.
La mayoría de las demás plataformas (Google Meet, Microsoft Teams, etc.) ofrecen opciones similares de panel flotante o vista dividida. Aprender a acceder y reposicionar la vista de la audiencia es una mejora importante para cualquier presentador.

3. Configuración de la presentación: el mejor diseño de pantalla
Para mantener tu mirada natural y una presencia fuerte, sigue este diseño:
-
Cámara en la parte superior central de la pantalla.
-
Ventana de presentación justo a la izquierda o directamente debajo de la cámara.
-
Ventana de audiencia flotante (si está disponible) ubicada justo encima o al lado de la cámara.
Esto te da un patrón de mirada natural : miras ligeramente a un lado para consultar el contenido y directamente a la lente para el contacto visual. Imita la forma natural en que las personas miran entre un bloc de notas y una persona en una conversación en vivo.
Evite colocar su presentación al otro lado de la pantalla de la cámara. Esto desvía la mirada del objetivo y hace evidente a los espectadores que su atención está en otra parte.
4. Posición de la cámara: utilice el tercio derecho para contenido más grande
Al presentar contenido de formato ancho , como hojas de cálculo, paneles o maquetas de diseño, es útil anclar la ventana de la cámara en el tercio derecho de la pantalla. Aquí te explicamos por qué:
-
La mayoría de las personas comparten su contenido en pantalla completa.
-
Mantener la transmisión de la cámara en el tercio correcto permite que su contenido domine el espacio de la pantalla y al mismo tiempo deje lugar para su presencia.
-
Colocar la presentación a la izquierda y la cámara a la derecha se alinea con el flujo de lectura natural y mantiene la mirada más cerca del centro de la pantalla.
Este diseño es especialmente útil cuando se utilizan herramientas como OBS o cámaras virtuales, donde puedes personalizar las superposiciones de tus ventanas.
5. Cuando estés viendo una presentación: Alinea al presentador y las diapositivas
Cuando otra persona presenta y tú simplemente miras, puedes beneficiarte de la alineación. Aquí tienes un truco sencillo:
-
Coloque la transmisión de video del presentador y su ventana de diapositivas cerca una de la otra.
-
Coloque la cámara entre esas dos ventanas en la parte superior de la pantalla.
Esto facilita mirar ligeramente a la izquierda o a la derecha para ver al presentador y su contenido, manteniendo la vista cerca de la cámara. Crea un ritmo natural : mirar al orador, luego a su diapositiva y luego de vuelta, como en persona.

6. Después de compartir la pantalla: vuelva a centrarla
Al dejar de compartir la pantalla y volver a la vista completa, es fácil olvidarse de realinearla. Pero este es el momento de reconectar de verdad con tu audiencia.
Tómate un momento para:
-
Arrastre la ventana de video nuevamente al centro de la pantalla, directamente debajo o al lado de la cámara.
-
Asegúrese de que la lente de su cámara esté al nivel de los ojos , no debajo ni muy hacia un costado.
-
Mire directamente a la lente mientras habla: esto envía una señal fuerte y segura de que está presente.
Estos ajustes toman segundos pero tienen un impacto duradero en cuán comprometido y profesional usted se ve.
7. Consejos prácticos para una instalación exitosa
-
Practica tu configuración antes de la llamada. Abre la presentación, la aplicación de cámara y la herramienta de reuniones, y coloca todo donde quieras.
-
Use monitores externos intencionalmente. Si usa dos pantallas, intente mantener la cámara y las diapositivas en la misma para evitar que la gente gire la cabeza.
-
Utilice herramientas de software como cámaras virtuales o herramientas avanzadas de diseño de pantalla si realiza presentaciones con frecuencia.
-
Ensaya el movimiento de tus ojos. Practica mirar el contenido y luego a la cámara; hazlo con fluidez, no forzado.
Conclusión: Liderar con presencia
Los buenos presentadores de video saben que el éxito no se trata solo de las palabras en las diapositivas, sino de cómo te presentas. Alinear tu presentación, la vista del público y la cámara puede parecer un detalle pequeño, pero genera un gran cambio en la percepción de tu mensaje.
Te sentirás más arraigado. Tu audiencia se sentirá más visible. Y tu contenido brillará, porque no solo lo estás transmitiendo, sino que realmente lo estás transmitiendo.
Así es como se lidera con presencia, incluso desde detrás de una pantalla.
5 consejos para hacer videollamadas geniales